How to Do a Kettlebell Snatch: 5 Steps, No Wasted Reps
This post contains affiliate links. As an Amazon Associate, we earn from qualifying purchases.
How to do a kettlebell snatch: swing the bell between your legs and drive it overhead in one motion, keeping it close, finishing with a locked elbow and a vertical arm. The IF3 standard requires the bell to start behind your toe tips, inside your legs.
That single fluid motion is where the how to do a kettlebell snatch question gets hard to coach. The bell has to travel a curved path without drifting away from your body, and CrossFit’s own instruction warns against exactly that drift. Their fix is slow “muscle” snatches with a very light bell before you ever add speed.
What follows covers the prerequisites, the five steps, the three places the rulebooks disagree, and a weekly dose that won’t wreck your hands.
Key Takeaways
- Prerequisites come before reps. Onnit lists a proficient single-arm swing, an overhead press, and an overhead walk before you snatch at all.
- Start behind your toes. IF3 requires the bell behind the vertical plane of your toe tips and inside the legs.
- Hips drive, arms steer. Onnit says the power comes from the hips, and grip and shoulder muscles shouldn’t be the primary movers.
- The sources split on grip. CrossFit cues a relaxed grip and a punch-through at head height. Onnit cues a diagonal handle above the thumb from the start.
- Snatch and swing aren’t the same lift. Lake et al. Measured 22 ± 4 cm of vertical center-of-mass travel in the snatch versus 18 ± 5 cm in the two-handed swing.
What the Kettlebell Snatch Actually Asks of You
The lift moves a bell from a hang position to overhead in one motion. That definition is accurate and almost useless on its own, because both ends of the range are defined far more tightly than most gyms bother to teach.
The IF3 standard defines the start with the bell entirely behind the vertical plane made by the tips of the athlete’s toes and inside the legs. The finish requires the object overhead, the arm vertical, and full extension of the elbow. The bell travels between those two points in one fluid motion.
The hang position is spelled out too. The bell sits off the ground, supported by the hands, arms hanging downward from the shoulders, elbows extended, shoulders in front of the vertical plane. IF3 describes that as slightly lower than a deadlift lockout.
Overhead is just as literal. IF3 puts it anywhere above the top of your head: in front, directly over, or slightly behind the center of your head. That’s a wider target than most people picture.
Before You Start: The Prerequisites Most People Skip
A friend of mine in his fifties wanted to learn to snatch and I talked him out of it for a while. He started with a light kettlebell deadlift instead, and by the end of that stretch his hip hinge was clean enough that the swing came almost free. That’s the boring part, and it works.
Before you start: A bell at full extension carries enough momentum to pull a sloppy shoulder out of position, so clear your overhead path before every set. Chalk plus a fast bell tears calluses at the base of the fingers, so keep the grip slightly loose. If your ribs flare or your pelvis tips at lockout, stop and press instead.
Onnit’s readiness test is an overhead lockout: ribs down, core braced, pelvis level to the floor. If you can’t hold that shape with a light bell, the snatch waits. Their prerequisite list is short and worth taking literally:
- A proficient single-arm swing. Onnit treats the snatch as a progression of it, not a replacement for it.
- The overhead press. You need the lockout before you need the speed.
- An overhead walk. Onnit adds this one because the bell spends most of its time overhead, not because it’s fun.
- A deadlift you don’t have to think about.
If you’re starting from zero, the kettlebell training for beginners basics come first. Skipping them is how people end up arm-lifting a bell they can’t yet hold still.
Skip this if: your lockout collapses the moment you take your eyes off it. That’s a press problem wearing a snatch costume.
How to Do a Kettlebell Snatch: The 5 Steps
Five steps, in this order. Each one has a failure mode attached, and the failure is usually the reason the next step feels wrong.
- Set the start position. Bell behind the toe-tip plane and inside the legs, per IF3. Skip it and the first pull drifts forward before you’ve generated any power.
- Hike the bell back between your legs. CrossFit describes a dynamic backswing with the forearm contacting the inner thigh. Lose that contact and the bell swings wide, which turns the rep into an arm lift.
- Snap the hips. Onnit is direct about this: the power comes from the hips, and grip and shoulder muscles shouldn’t be the primary movers. Pull with the arm instead and the bell stalls around chest height.
- Guide the bell around the hand. CrossFit cues a relaxed grip and punching the hand through the handle opening as the bell reaches head height. Hold a death grip and you’ll tear calluses inside a session or two.
- Lock out overhead. Arm vertical, elbow fully extended, ribs down. A soft finish lets the bell drift, and you end up catching it with the shoulder rather than the skeleton.
The catch position sits close to a kettlebell clean, which is why lifters who already own that movement pick this one up faster.
The sound tells you more than a video does. A clean rep is quiet at the top, because the bell settles overhead instead of clanking into your forearm.
Returning the bell is the part nobody argues about. IF3 lets you come back to the start position in any controlled manner, so a slow lower to the rack is legal.
Where the Sources Disagree on Grip and Entry Position
Three credible sources describe the same lift three different ways, and none of them is obviously wrong. That’s worth knowing before you copy a cue off a video.
Grip: Two Opposite Cues, Both Defensible
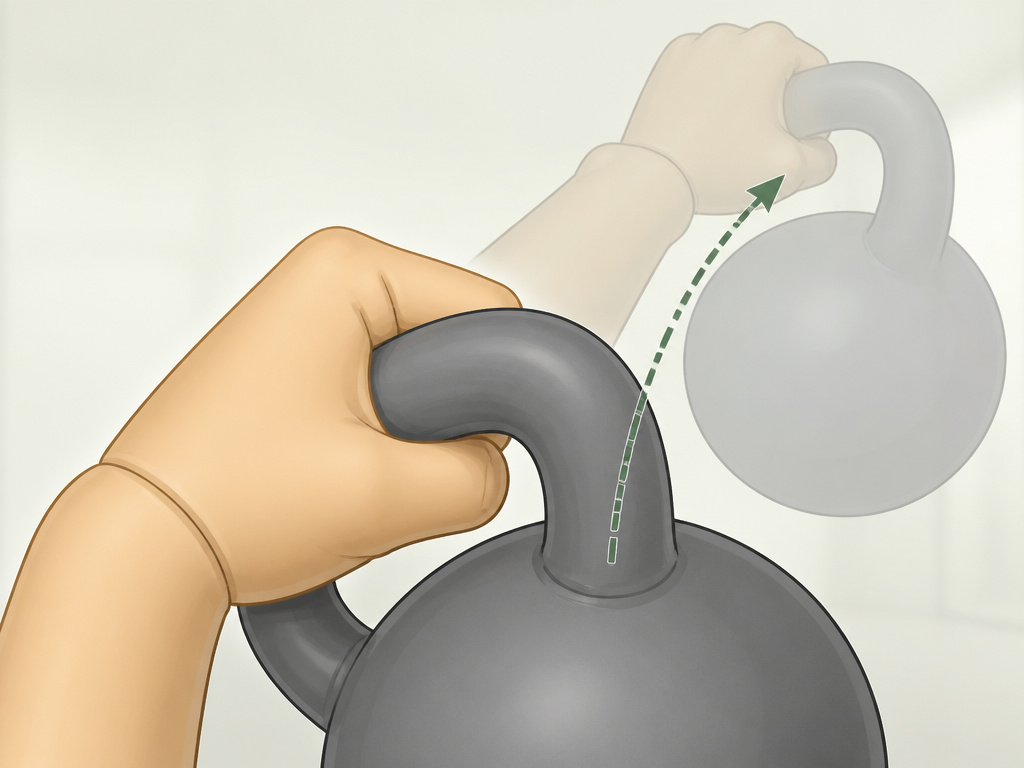
CrossFit says relax the grip and punch the hand through the handle opening as the bell reaches head height. Onnit says the handle should rest diagonally in the hand just above the thumb, not near the fingers, and that you shouldn’t need your fingers to finish the lift at all.
Those are opposite strategies for the same phase of the rep. The kettlebell grip you settle on depends on which problem you’re solving.
I teach the diagonal handle first and the punch-through second. Beginners who punch through on rep one lose the bell forward, because they don’t have a path yet. The diagonal handle gives them something to hold onto while the path sorts itself out.
The sensory difference is obvious once you feel it. The handle should press into the pad of your palm just above the thumb, not into the base of the fingers.
Entry Position: Three Rulebooks, Three Answers
IF3 wants the bell behind the toe-tip plane and inside the legs. CrossFit describes a dynamic backswing where the forearm grazes the inner thigh. Onnit starts from the rack position and then hikes the bell from the floor, and notes that a floor start is a slightly more advanced variation.
| Source | Start position | What it suits |
|---|---|---|
| IF3 §6.04 | Bell behind the toe-tip plane, inside the legs | Competition reps that must repeat exactly |
| CrossFit | Dynamic backswing, forearm grazing the inner thigh | Gym sets where rhythm matters more than geometry |
| Onnit | Rack position first, then hike from the floor | Learning the path with a light bell |
Onnit also makes a claim worth flagging: starting from the floor may be safer for the lower back, because you don’t generate as much momentum on the way down. That’s their reasoning, not a measured finding.
What most people get wrong: copying a competition start position off a video without checking which rulebook it came from. IF3 and CrossFit don’t agree, and a rep that passes one won’t necessarily pass the other.
Not every description comes from a rulebook. University rec-department databases publish their own versions, and the WSU online exercise system listing is one example.
Why the Hips Drive the Bell and the Arms Just Steer
Onnit’s cue is blunt: the power in the snatch comes from the hips, and the grip and shoulder muscles shouldn’t be the primary movers. Onnit’s explanation is simple. The hip hinge loads the glutes and hamstrings, and those muscles extend the hip to launch the bell. Your arm’s job is keeping the bell close to that arc, not lifting it.
Different joint actions, same phase of the lift.
Rule of thumb: If your biceps are tired after a snatch set and your glutes aren’t, you trained your arms and carried a bell around. Drop the weight and find the hinge again.
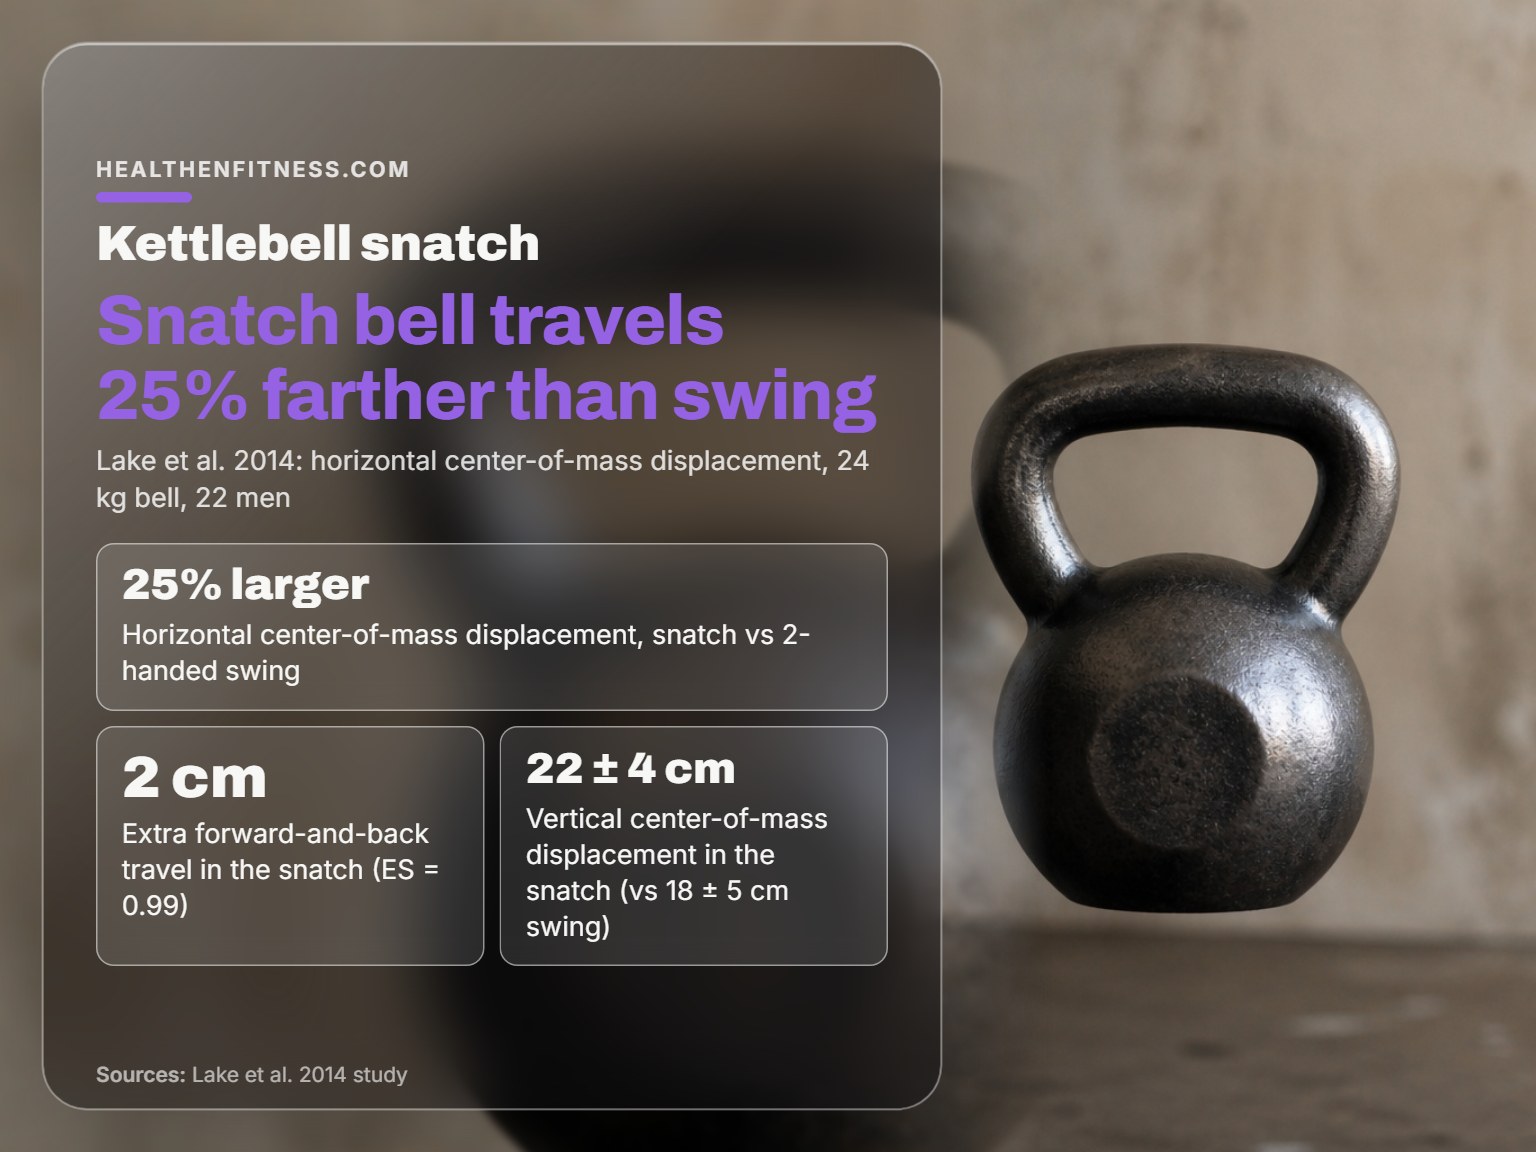
The bell travels more than you’d guess in the horizontal plane. Lake et al. Found horizontal center-of-mass displacement was 25% larger in the snatch than in the two-handed swing (2 cm, ES = 0.99). That forward-and-back travel is exactly why the arm path matters so much.
Is the Kettlebell Snatch Just a Swing With a Longer Finish?
Mechanically, no, and the research doesn’t fully agree on how much the difference matters. Lake et al. Concluded that coaches should consider using the kettlebell snatch and the two-handed swing interchangeably for the ballistic component. Ross et al. Push back, arguing that the snatch requires a different coaching application than a barbell snatch because the bell has to be held stationary overhead, which is a distinct motor demand.
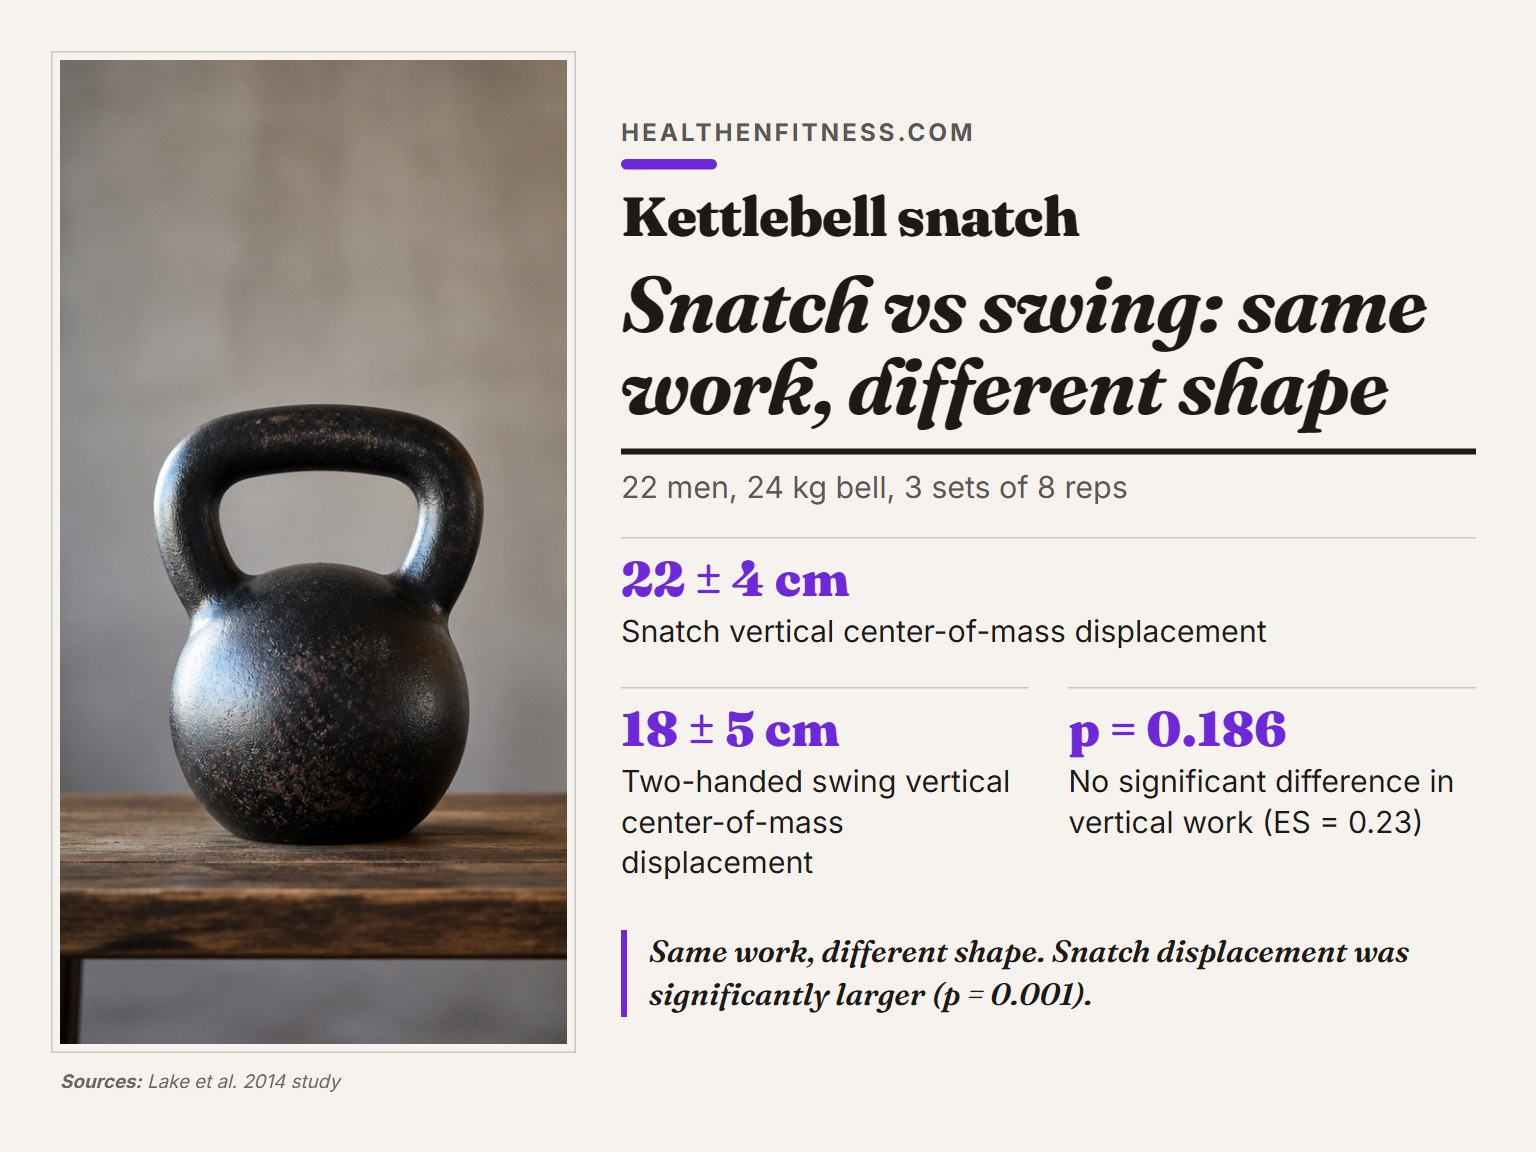
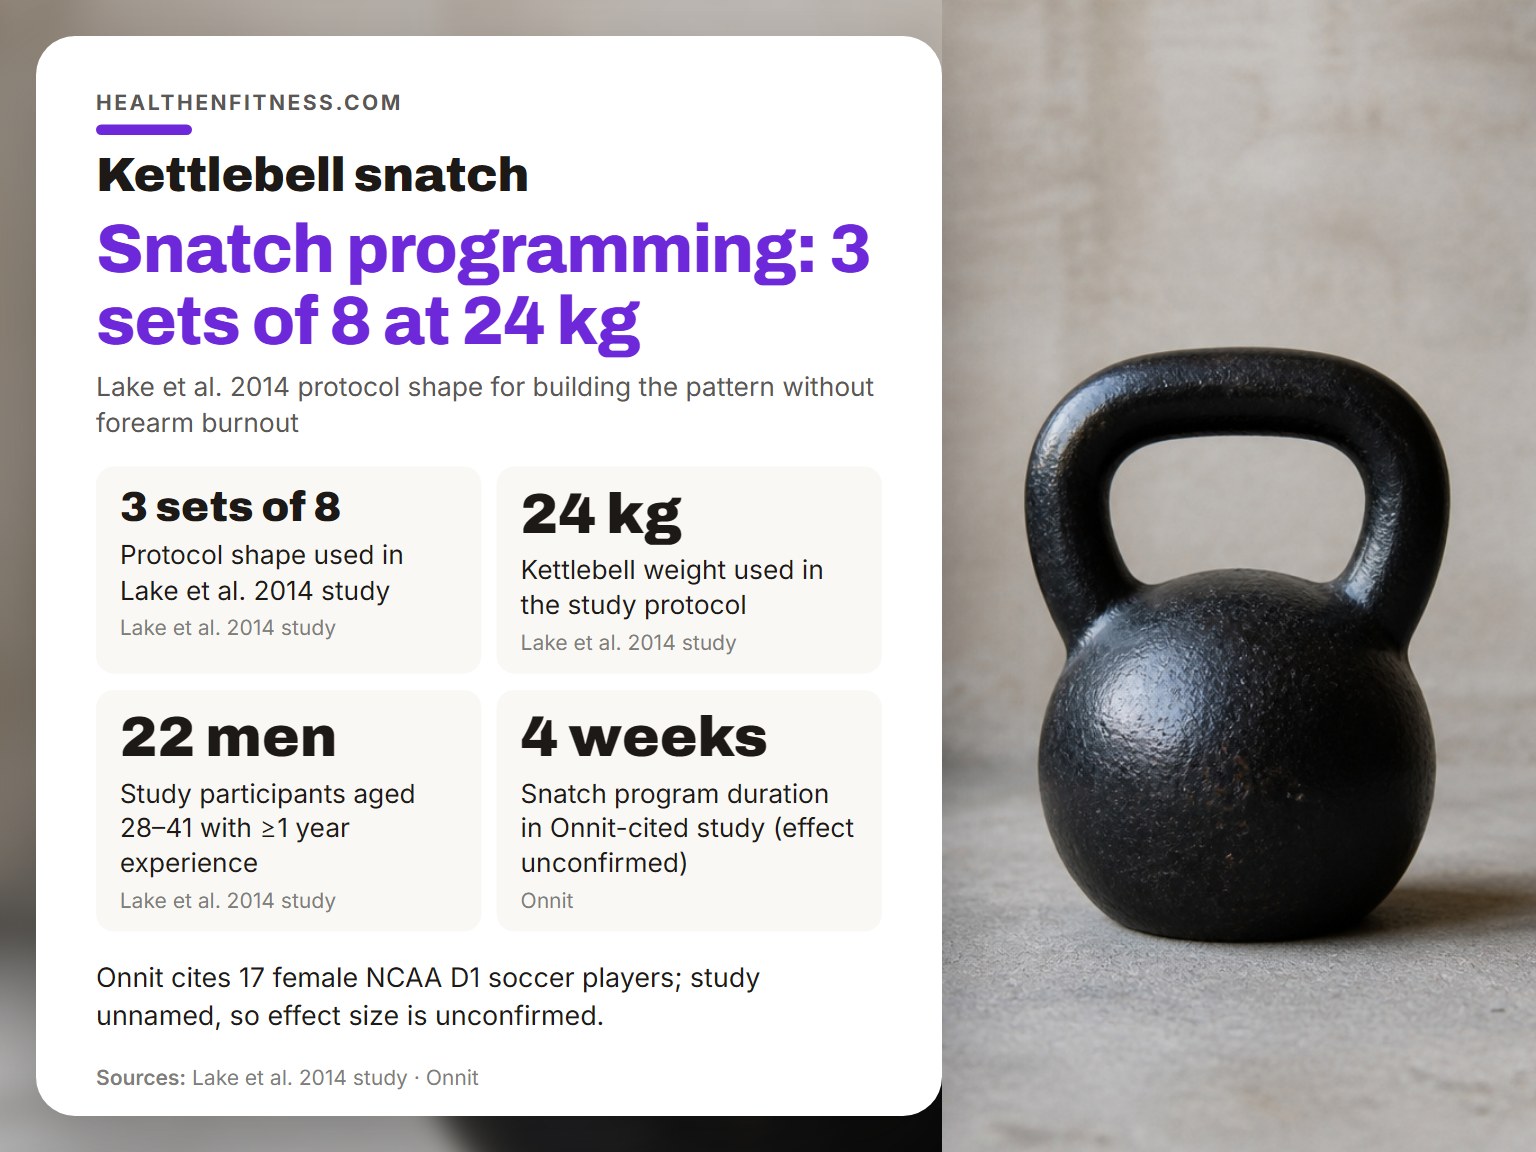
What Lake’s team did measure is worth knowing. Across 22 men aged 28 to 41, each with at least a year of experience in both lifts, three sets of eight reps with a 24 kg bell produced 22 ± 4 cm of vertical center-of-mass displacement in the snatch versus 18 ± 5 cm in the two-handed swing (p = 0.001).
The surprising part is the work. There was no significant difference in the vertical work performed displacing the center of mass between the two lifts (p = 0.186, ES = 0.23). Same work, different shape.
The same paper notes prior research where a two-handed swing with light loads of 12 to 16 kg, performed by relatively untrained subjects, produced significant improvements in maximum and explosive strength after six weeks. If you’re deciding where to spend your time, the kettlebell swing earns its place first.
There’s also a naming convention worth knowing. CrossFit coach Adrian Bozman explains that with a kettlebell, “snatch” implies cycling between the legs by default, and snatching from the ground has to be stated specifically. He traces that convention to kettlebell sport rules, where reps are contested and the bell can’t touch the platform.
What Goes Wrong First, and How to Fix It
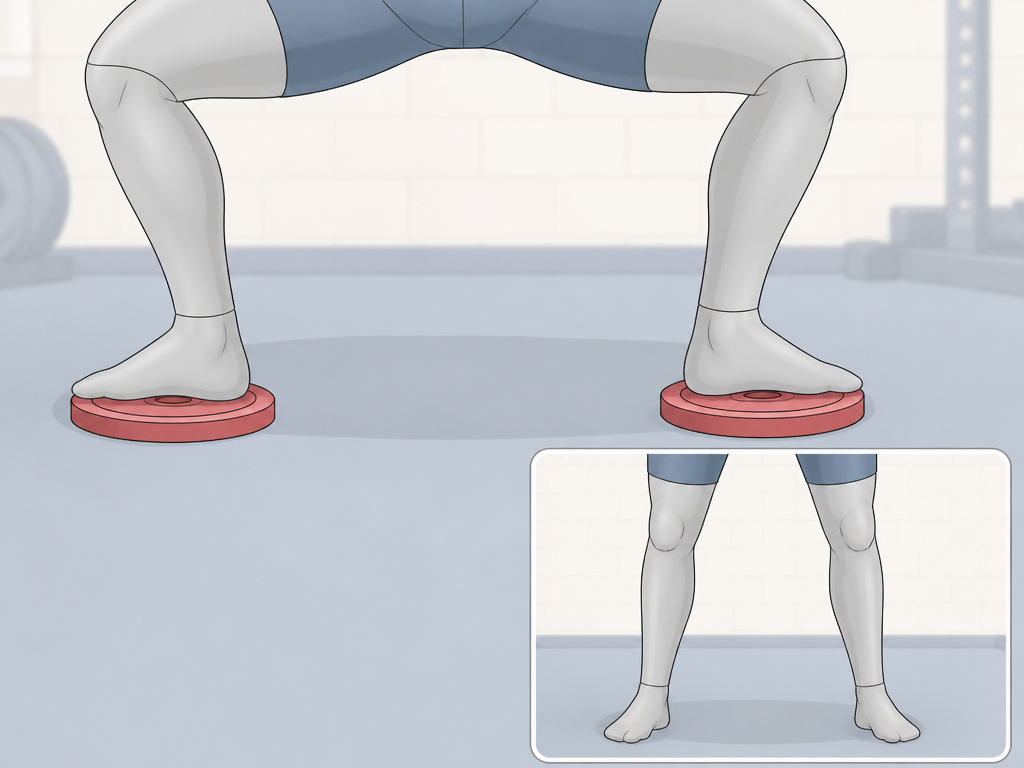
Two things break first, and neither one is the lockout. The bell path and the hands go before anything else does.
| Symptom | Likely cause | Fix |
|---|---|---|
| Bell drifts forward at chest height | Arm pulling instead of hip drive | Slow muscle snatches with a very light bell |
| Bell crashes into the forearm | Grip too tight, no punch-through | Relax the grip, punch through at head height |
| Lockout feels unstable | Ribs flared, pelvis tipped | Overhead press and overhead walk first |
| Calluses tearing at the finger base | Death grip on the handle | Slightly loose grip, per Onnit’s cue |
Don’t chase speed until the path repeats. A bell that drifts forward under fatigue lands on your forearm, and the bruise shows up the next morning, not during the set.
The same logic applies to double bells. Onnit’s guidance is to lower them to the rack and unravel from there rather than dropping from overhead, because a bell that lands wrong rolls into a foot.
How Do You Program Snatches Without Burning Out?
CrossFit describes the kettlebell snatch as lifting a kettlebell from a hang position to overhead in one motion, performed safely and effectively.
Start with Lake’s protocol shape instead: three sets of eight with a 24 kg bell. That’s enough volume to build the pattern without turning your forearms into hamburger.
Onnit cites a study of 17 female NCAA Division 1 soccer players who ran a snatch program for four weeks and saw a VO2 max increase that was significant and superior to traditional circuit training. Onnit doesn’t name the study, so treat the size of that effect as unconfirmed.
A Week That Won’t Wreck You
- One session of slow muscle snatches with your lightest bell, filmed from the side.
- One session of heavier, lower-rep sets, stopping short of failure.
- One clean and press session to keep the rack and lockout honest.
- Everything else: swings, carries, squats.
Your kettlebell weight selection matters more here than rep count. A bell you can’t hold overhead with a level pelvis is a bell you shouldn’t be snatching.
Frequently Asked Questions
How long does it take to learn a kettlebell snatch?
Longer than the swing, shorter than most people fear. Onnit’s prerequisite list is the real gate: a proficient single-arm swing, an overhead press, and an overhead walk. Clear those and the snatch itself comes together in a few sessions of slow, light reps.
What weight should I start with?
Lighter than your swing bell. CrossFit recommends very light muscle snatches to ingrain the bell path before you load the movement. If you can’t hold the lockout with a level pelvis, drop down a size.
Is the kettlebell snatch hard on your shoulders?
Onnit argues the opposite, saying the snatch can work as an alternative to the overhead press for people with shoulder issues because it bypasses the AC joint. That’s a general movement claim, not medical advice. If you have an actual shoulder diagnosis, get it looked at first.
What’s the difference between a snatch and a clean?
The finish. A clean ends in the rack position with the bell at the shoulder; a snatch ends overhead with a vertical arm and a fully extended elbow. The pull underneath is close enough that lifters who own one usually learn the other quickly.
Can you do kettlebell snatches with two bells?
IF3 lists two kettlebells as permitted equipment, and its rep-end rule requires the object overhead, arm(s) vertical, and full extension of the elbows. The two-bell standard is under-specified. Onnit’s practical advice is to lower double bells to the rack before separating them rather than dropping from overhead.
Before You Go
One threshold worth carrying with you: if your overhead lockout collapses when you’re tired, you don’t have a snatch problem. You have a press problem, and no amount of snatch volume will fix it. Spend time on the press and the overhead walk, then come back.
This week, do one thing. A set of slow muscle snatches with your lightest bell, filmed from the side, and watch whether the bell drifts forward before it goes up. If it does, the fix is in your hips, not your arm.
Fair warning: none of this covers competition peaking or sport-specific girevoy work, and I’m not the person to ask about that. That needs a specialist coach who watches you lift in person.
