How to Bail Out of a Failed Squat: Step-by-Step
This post contains affiliate links. As an Amazon Associate, we earn from qualifying purchases.
How to bail out of a failed squat: set the safety pins just below your lowest squat depth (Tony Gentilcore specifies one or two notches), then either sink until the bar rests on the pins, or push the bar backward off your shoulders while driving your body forward. A spotter is the better option whenever one is available.
The pin height in that answer to the how to bail out of a failed squat question decides whether a failed rep is a shrug or a genuine injury. Set them high and the bar stops you mid-descent, which is jolting and loud but not necessarily dangerous. Set them low and the bar keeps travelling past the point where you can do anything useful about it.
What follows covers the setup, the two release directions, and the one place where the rack manufacturer and the coaches genuinely disagree.
Key Takeaways
- Tony Gentilcore recommends pins one or two notches below your lowest squat depth, measured with an empty bar, not borrowed from the last person on the rack; Rep Fitness and Iron Bull Strength say just below depth without a notch count.
- Back squat and front squat bail in opposite directions. Bar back and body forward for a back squat; bar forward and step back for a front squat.
- Safeties are emergency equipment. Rep Fitness and Iron Bull Strength both warn that regular bailing damages bars, racks and plates.
- A spotter is the manufacturer’s preferred answer. Precor’s manual recommends a helper whenever a weight can drop on a user.
- Bailing is a last resort. Cutting the set short costs you one rep and nothing else.
Why Your Rack Manual Has No Bail-Out Procedure
Precor’s service manual for the 608 Squat Rack (document CW31973-102) covers adjustment, maintenance and safety warnings across its pages. It does not contain a bail-out procedure. The manual’s answer to a weight that might drop on a user is a helper or a spotter, and it says so plainly.
Safety pins sit one or two notches below the lifter’s lowest squat depth, a height found by test-running an empty barbell through a full rep. Pins set higher abort the rep early; pins set lower let the bar travel past a recoverable position.
The absence is the interesting part. That standard covers structural safety. It says nothing about lifting technique.
So the manual tells you the rack will hold. It does not tell your body how to bail out of a failed squat when the rep stalls.
One line in that same manual matters more than it looks: do not attempt to free any jammed assemblies alone. Read that broadly. A bar wedged across the safeties is close enough to the situation Precor is describing, and Precor says not to free jammed assemblies alone.
How High Should You Set the Safety Pins?
Two sources give a number, and two give a direction. Tony Gentilcore, writing for Men’s Health, says to run an empty barbell through a full rep to find your lowest squat depth, then set the pins one or two notches below it. Rep Fitness and Iron Bull Strength both say to set them just below your lowest squat depth, without naming a notch count.
That gap is small enough to live with. Start with one or two notches below your depth and adjust from there.
The empty-bar test
Do this before your working sets, every time you use a rack you have not used recently.
- Load an empty bar and squat to your normal depth. Do not cut it high to look strong.
- Look at where the bar sits relative to the pin holes. That is your reference point.
- Move the pins one or two notches below that line.
- Re-rack, load up, and leave the pins alone.
Common mistake: Copying the pin height the last lifter left in the rack. Gentilcore is blunt about this one. The height that saved someone else’s set may sit above or below your depth, and depth varies a lot between lifters with different limb lengths.
You will hear the difference before you see it. Set the pins one hole too high and you get a sharp crack halfway down, followed by the bar bouncing before it settles.
Neither sound is dangerous. Gentilcore points out that stopping early is jolting and loud rather than harmful, though it does end the rep and it does make a scene.
If your rack uses adjustable safety bars rather than fixed pins, the same rule applies. Just make sure both arms sit level before you load anything.
| What you notice | Likely cause | What to change |
|---|---|---|
| Descent stops halfway down | Pins one or two holes too high | Drop a notch and re-test |
| Bar brushes your torso at the bottom | Pins at or above your depth | Move down two notches |
| You bottom out before anything catches | Pins set too low | Raise one notch, re-test empty |
| Bar lands and slides sideways | Pins uneven left to right | Reset both to the same hole |
The Back Squat Bail: Bar Back, Body Forward
Rep Fitness and Iron Bull Strength describe the same release for a back squat: push the bar backward off your shoulders while your body moves forward. The bar drops behind you onto the safeties. You end up clear of it.
Here is why that direction works. The bar sits on your rear delts, behind your center of mass. Pushing it backward moves it off the only thing holding it up. Moving your body the other way puts distance between you and a falling object. Two directions, one movement.
Before you start: A loaded bar landing on pins generates a dynamic load several times its static weight, per Rep Fitness, so check the rating on your rack and safeties before you test anything heavy. Keep a neutral spine and avoid twisting as the bar comes off. Clear your hands and head from the drop zone.
The five-step back squat bail
- Stop pushing the moment the rep stalls. Keep grinding and you burn the control you need for the descent.
- Sink a little further until the bar meets the pins. Skip this and you fight a bar you cannot move, which is how the stapled-at-the-bottom stories start.
- Roll or step out from under the bar once it rests. Stay put and you are holding load your legs have already given up on.
- With no pins, push the bar backward off your shoulders and drive your body forward together. Do one without the other and the bar lands where you are standing.
- Stand clear, then reset the bar and check the pins. Skipping the check means the next set runs on a height nobody verified.
That drag is the part worth rehearsing, because it is the half-second where your hands either let go or do not.
Why the Front Squat Bails the Other Way
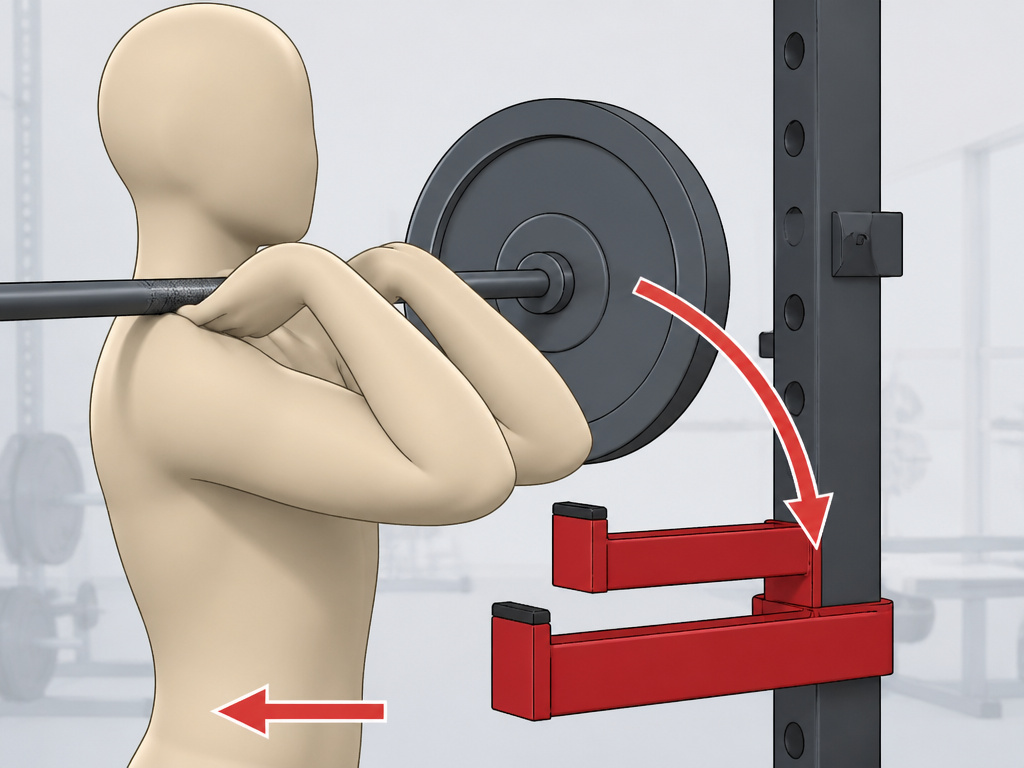
Front squat release goes forward. Both Rep Fitness and Iron Bull Strength describe it the same way: let the bar fall forward onto the safeties and step back to avoid contact with it.
The reason is where the bar sits. In a front rack position the bar rests on your front delts with your elbows high. It cannot travel backward past your head. The only clear path is forward and down, which is why the step back matters as much as the release.
A single bail protocol does not cover both lifts. If you train front squats and have only rehearsed the back squat dump, you have rehearsed the wrong direction. The front rack depends on squat form that keeps your elbows up, and that is a separate skill from the bail itself.
Rehearse the bail for the lift you are actually doing. A back squat release and a front squat release go in opposite directions, and muscle memory does not sort that out for you at the bottom of a heavy rep.
What Do You Do When There’s No Rack at All?
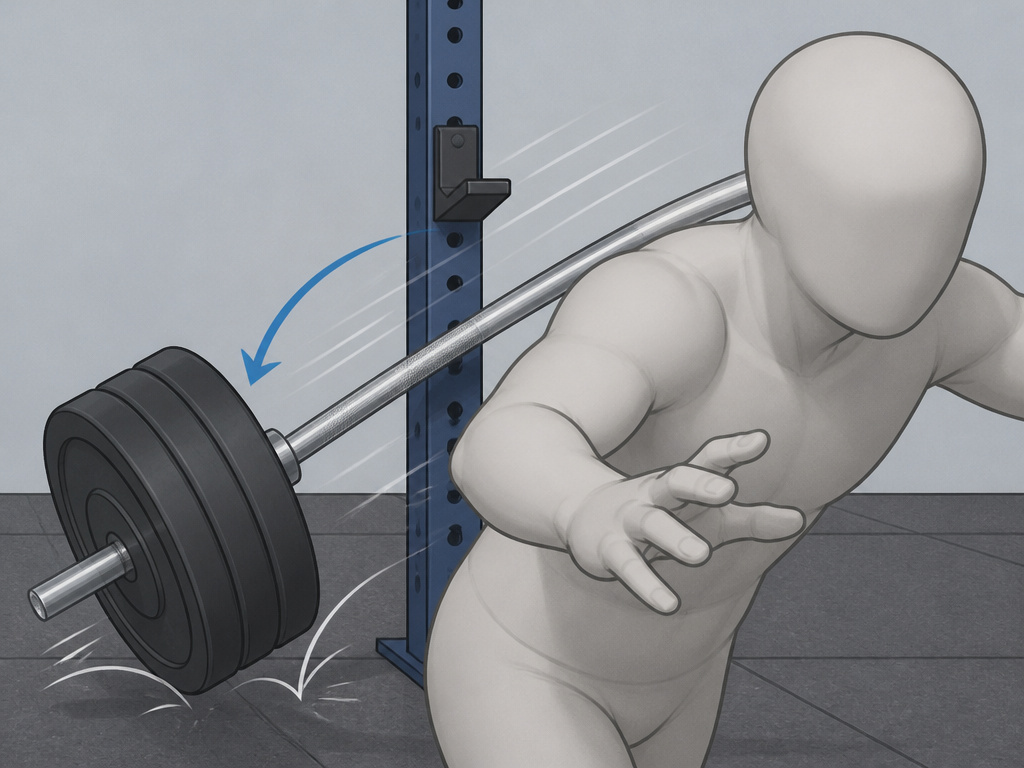
Backward dump, and it comes with a condition. Doc Lyss teaches the technique in her tutorial: lean back, drop the bar behind you, and shoot your body forward. Her stated limitation is the important part. This is for lifters who do not have guard rails. With rails, you lower the bar onto them instead.
Rep Fitness takes a different line on the floor question. It says to avoid bailing directly onto the floor and to use safety bars or a power rack to catch the bar. Both positions make sense once you see the starting assumptions. If a rack exists, use it. If it does not, the dump is what is left.
Where this goes sideways: The bar takes the impact, the plates take the bounce, and the bounce goes wherever it wants while you are still moving forward.
Spotter vs. Solo: Where the Sources Actually Disagree
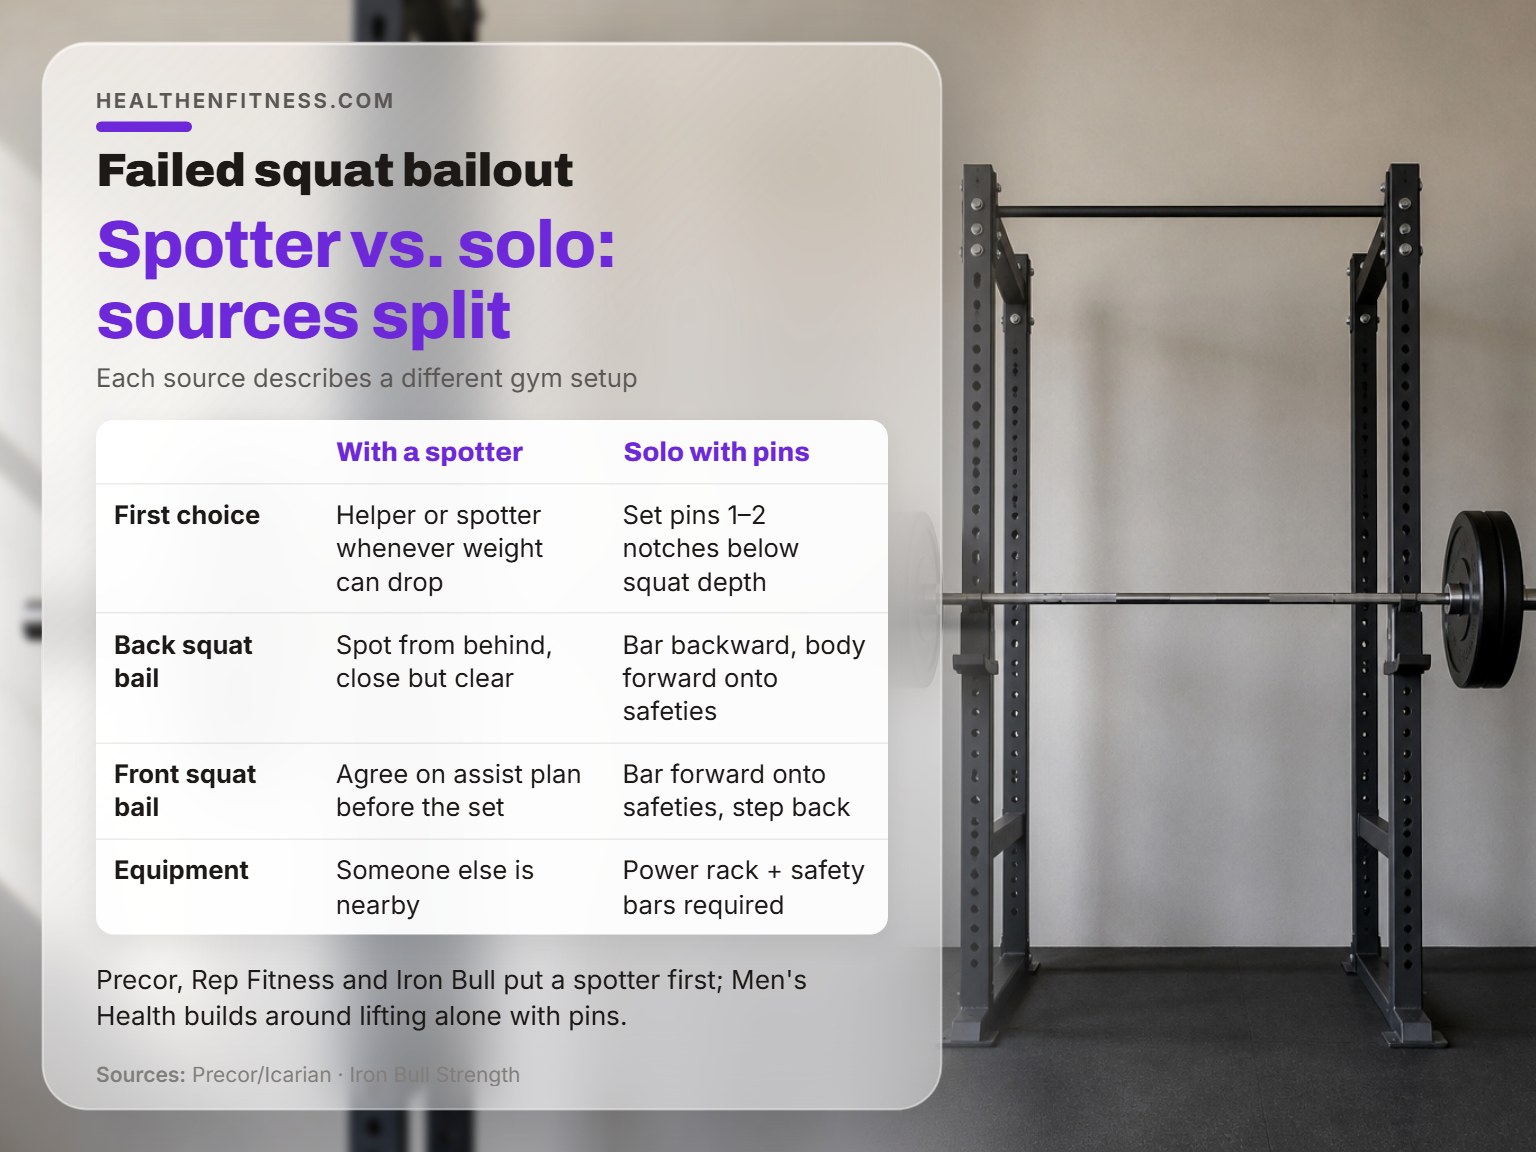
This is the real split in the material. Precor’s manual, Rep Fitness and Iron Bull Strength all put a spotter first. Men’s Health builds the entire procedure around lifting alone with pins. The video tutorial teaches a solo dump for people with no rails at all.
| Source | Position | What it assumes |
|---|---|---|
| Precor (OEM manual) | Helper or spotter whenever a weight can drop | Someone else is nearby |
| Tony Gentilcore, Men’s Health | Set pins, sink to them, roll out | You are alone |
| Rep Fitness | Spotter first, safeties essential without one | Either setup possible |
| Iron Bull Strength | Power rack and safeties for solo work | Home gym, no spotter |
| Doc Lyss (video) | Backward dump when no rails exist | No rack at all |
Read the table that way and the split makes sense. Each source is describing a different gym.
If you have a spotter, say this first
Iron Bull Strength’s instruction is to stand behind the lifter, close enough to assist but not in the way. The part people skip is the conversation before the set. Agree on how the assist works and what happens if the rep fails, out loud, before the bar comes off the rack.
A spotter who has not been told what you want will guess. Guessing at the bottom of a heavy squat is how helpers get hurt too.
If you are usually training alone, the pin setup matters more than any technique cue below.
When to Rack It Instead of Bailing
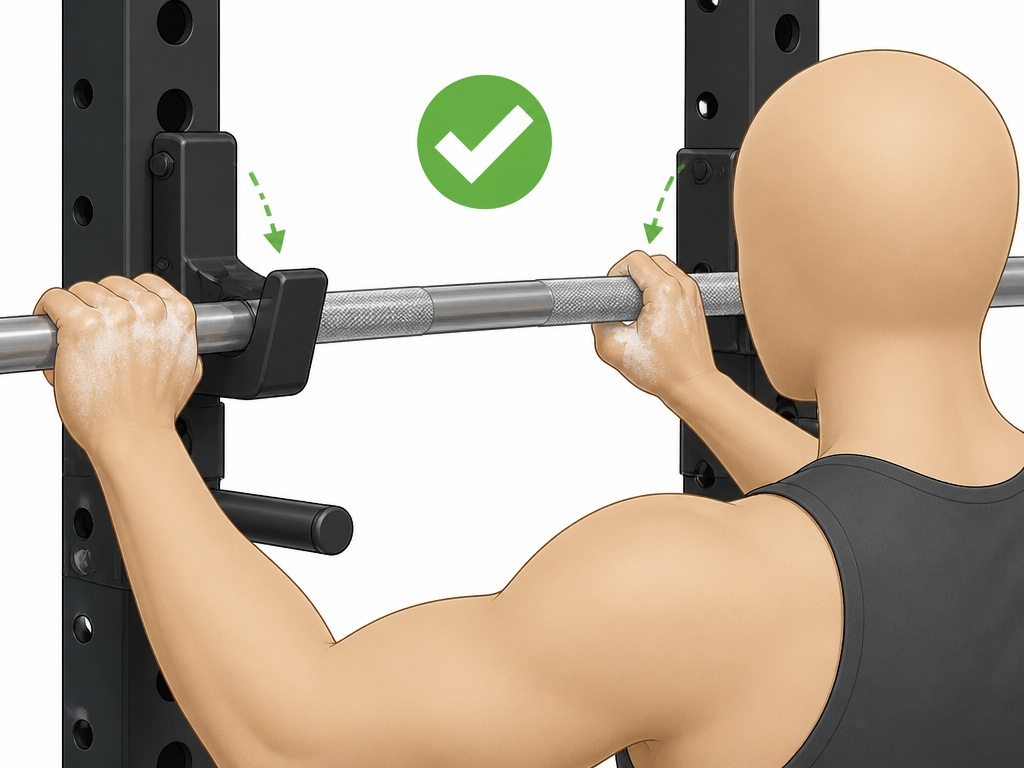
Every source in the material calls bailing a last resort. Rep Fitness describes safeties as emergency equipment rather than a training method. Iron Bull Strength warns that frequent bailing damages bars, racks and plates while building bad habits.
The practical version is simpler: cut the set short before you need the pins.
- You feel so fatigued that needing the pins is a real possibility. Gentilcore’s rule, and the clearest one in the material.
- Your lower back starts rounding.
- Your knees cave inward.
None of those are injuries. All of them are the rep before one.
Gentilcore adds a programming note worth stealing: do not expect five reps at 90% or more of your one-rep max. That is a math problem, not a courage problem.
I would rather watch someone rack a bar with good reps left in the tank than watch them grind out a rep and learn nothing except that they can survive. The set you cut short is the set you can repeat next session.
Training close to your limit is fine. Training to failure on every set is a different habit, and it is the one that puts you under a bar you cannot finish. A power rack vs squat rack decision also matters here, because adjustable safeties at squat height are not a given on every frame.
Practice the Bail Before You Need It
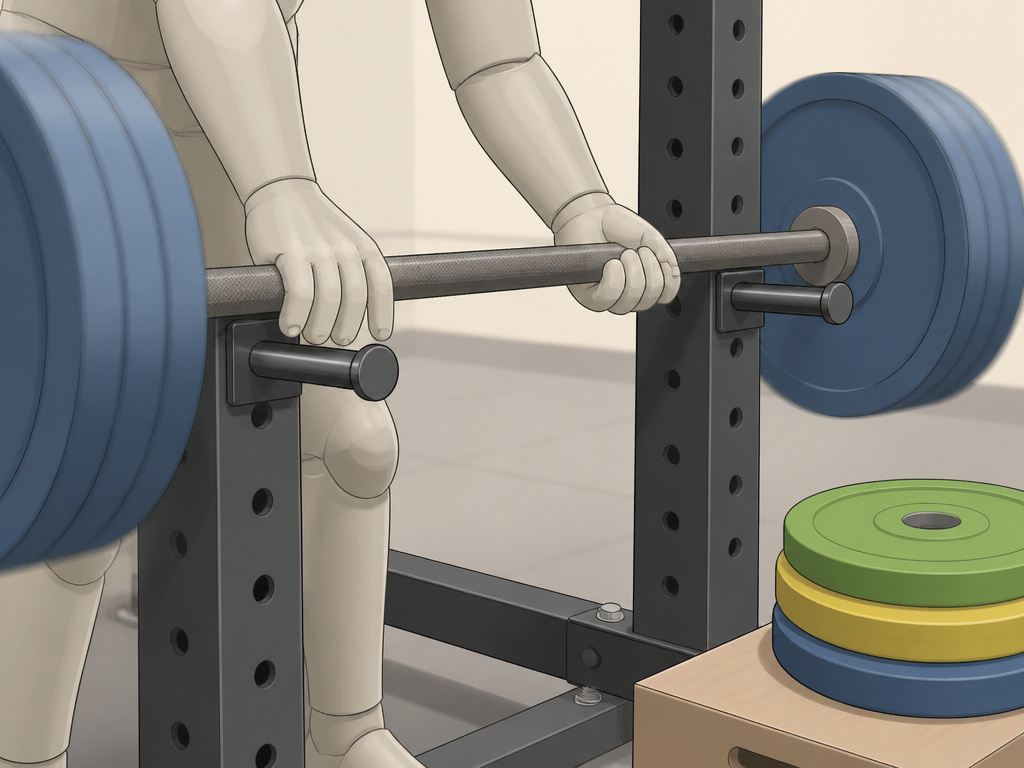
Rep Fitness and Iron Bull Strength both say to rehearse the movement with lighter weights. That is the entire recommendation, and it is the one everybody skips because it feels like a wasted set.
I worked with a beginner who was scared of the rack rather than the weight. We put a box under her and had her squat down to touch it. Her depth and her confidence had both moved, and the box had done the same job the pins do: it gave her a floor she trusted, so she stopped bracing against a fall that was never going to happen.
Start lighter than your ego wants. Load something you can squat for a comfortable set and dump it on purpose. Then add a little and do it again.
A bail you have only read about is like a recipe you have only read. You know the steps. You have not cooked it.
Iron Bull Strength points at two pieces of kit for heavy lifts: knee wraps for joint support, and a lifting belt for core stability. Neither replaces the pins. Both make the bottom position less of a negotiation.
The same setup logic applies to bench press safeties, which have their own height rule and their own failure mode. If you bench press alone, those safeties are doing the same job they do on a squat, just at chest height.
One more thing from Rep Fitness worth repeating: a falling bar hits harder than the number printed on the plates. The multiplier depends on how far it fell and what it landed on. A biomechanical review of the squat exercise published in the International Journal of Sports Physical Therapy in 2024 covers how stance width, foot rotation and heel elevation change joint loading. It does not address bail-out mechanics at all. The research tells you about joint loading; the rack hardware decides what happens when you get stuck there.
Inspect the rack, the pins and the plates regularly, which Iron Bull Strength lists as basic housekeeping rather than a project.
Frequently Asked Questions
Can you bail out of a squat without a rack?
Yes, but the options narrow to one. With no pins or safeties, the only bail is a backward dump: push the bar off your shoulders and move your body forward so the bar lands behind you. Doc Lyss teaches that technique specifically for lifters without guard rails, and the landing zone is what decides how it goes.
How do you know if your safety pins are set too high?
Your descent stops before your normal depth, usually with a sharp crack and a jolt. Tony Gentilcore describes that as jolting and loud rather than dangerous, but it does end the rep. Drop the pins a notch and re-test with an empty bar.
Should you bail backward or forward?
It depends on the lift. A back squat releases backward: bar off the shoulders, body forward. A front squat releases forward onto the safeties while you step back. Rep Fitness and Iron Bull Strength both describe the two directions that way.
What if the bar gets stuck on the pins?
Roll or step out from under it, then deal with the bar. Gentilcore’s sequence is to sink until the bar rests, then roll or step out. If the bar is genuinely wedged, Precor’s manual is clear that jammed assemblies should not be freed alone, so find a second person.
Does bailing damage your equipment?
Repeated bailing does. Rep Fitness and Iron Bull Strength both warn that safeties are emergency equipment rather than a training method, and that regular dumping damages bars, racks and plates. Rep Fitness also notes that a falling bar generates a dynamic load several times its static weight.
The Bottom Line
One thing to try this week: unrack an empty bar, sink to your lowest depth, and count the notches from the bar down to the pin hole. That number is your setup for the rack you are using, and finding it costs you one warm-up set.
All of this assumes a rack with adjustable pins. That is a real limitation, not a disclaimer.
Here’s the honest version. I would rather see you rack a bar you could have finished than watch you dump one you could not. The first costs you a rep. The second costs you more.
