
How to Use a Heart Rate Monitor for Training: Step by Step
This post contains affiliate links. As an Amazon Associate, we earn from qualifying purchases.
To use a heart rate monitor for training, you need three things right: a strap or wrist unit that fits, wet electrodes on a chest strap, and zones you set from your own numbers instead of a default formula.
Get any one of those wrong and the number on the screen stops matching the effort in your legs. A dry chest strap struggles to pick up anything until sweat bridges the gap. A wrist unit worn too tight fights its own sensor. And a zone set from 220 minus age is a starting guess borrowed from a formula.
What follows covers the hardware, the fit, the dropouts, the zone math, and the one situation where you should ignore the screen entirely.
Key Takeaways
- Wet the electrodes before a chest strap goes on; Polar’s manuals state the electrodes must be wet during exercise.
- Fifteen seconds is the normal wait for a coded Polar FS1/FS2c/FS3c reading, and 15 seconds is also when the frame symbol disappears if code search fails.
- Fitbit’s default zones come from 220 minus age: Fat Burn 50-69%, Cardio 70-84%, Peak 85% and above.
- Keep the transmitter out of a damp gym bag. Stored wet, the electrodes keep the unit active and shorten battery life.
What Your Monitor Is Actually Measuring
Two different designs sit behind the number on your screen, and they fail in different ways. A chest strap picks up the heart’s electrical signal through two electrodes held against the skin. A wrist unit reads changes in blood flow under the sensor, so it cares a great deal about motion and fit.
Coded transmission on the Polar FS1, FS2c and FS3c requires the wrist unit to stay within 3 ft (1 m) of the transmitter. Heart rate appears within 15 seconds of starting code search. If code search fails, the frame symbol disappears after 15 seconds, and other heart rate monitors may disturb the signal.
Neither design wins everywhere, and the manuals show it. Polar’s chest strap instructions assume skin contact and moisture. Fitbit’s Charge HR manual assumes the opposite about pressure: it warns that a tight band restricts blood flow and can affect the heart rate signal.
The manual is the part people skip. Polar’s FS1/FS2c/FS3c instructions cover electrode moisture, storage, cleaning and temperature range in a few pages, and every one of those details changes whether the number is right.
The best heart rate monitors for exercise all share one trait: the manual tells you exactly how the thing wants to be worn, and the good ones say it in plain language.
Why Does My Reading Drop Out Mid-Set?
Fifteen seconds is the number to watch on a Polar FS1, FS2c or FS3c. Start code search and the heart rate should appear within that window.
If it doesn’t, the frame symbol vanishes after 15 seconds and the unit keeps showing an unframed number. Polar’s own guidance says you can keep exercising at that point, but other heart rate monitors nearby may disturb the signal.
| Symptom | Likely cause | Fix |
|---|---|---|
| No number at all | Dry electrode pads | Wet both grooved pads |
| Frame symbol gone | Code search failed | Move within 3 ft of the transmitter |
| Number jumps near others | Another monitor nearby | Step away from the other unit |
| Reading dies early in a session | Battery weakened by wet storage | Dry with a towel, store dry |
| Wild numbers on a rower | Wrist motion | Relax the wrist, hold still ~10 seconds |
The last row is a wrist-unit problem, and Fitbit’s manual addresses it directly. For HIIT, rowing or weightlifting, the company tells you to relax the wrist and stay still for about 10 seconds to regain an accurate reading.
Where this goes sideways: Chasing a dropout by tightening the band. On a wrist unit that squeezes the sensor against the vessel underneath, and Fitbit’s manual warns a tight band restricts blood flow and can affect the signal.
Dropouts on gym machines tend to be a pairing problem rather than a sensor problem, and the sync heart rate monitor with gym equipment steps cover the order worth trying.
How to Use a Heart Rate Monitor for Training: The 4-Step Setup
Fit beats features.
Before you start: A metal back cover sits against skin during exercise. Polar’s B1 manual notes that the stainless cover complies with EU Directive 205/05 on nickel release from skin-contact products, which matters if you’ve reacted to cheap watch backs before. A strap left damp against the chest also traps moisture and irritates skin, so dry the transmitter after every session.
- Wet the electrodes first. Moisten the two grooved pads before the strap goes on. Polar states the electrodes must be wet during exercise, and a dry pad gives a late or missing reading.
- Set the strap and check the range. Coded Polar units need the wrist unit within 3 ft (1 m) of the transmitter. Walk to the far end of the gym and the link can drop.
- Set your zones from a number you trust. Fitbit’s defaults use 220 minus age. If you have a measured max, enter it. Otherwise treat the default as a starting point and adjust after a few sessions.
- Dry the transmitter before it goes in the bag. Polar says never store it wet, because damp electrodes keep the unit active and shorten battery life. A towel is the only cleaner in the manual; alcohol and abrasives damage the pads.
Step 4 is the one people blow off, and it’s the one that costs a battery.
Chest Strap vs Wrist Optical: What Each One Needs From You
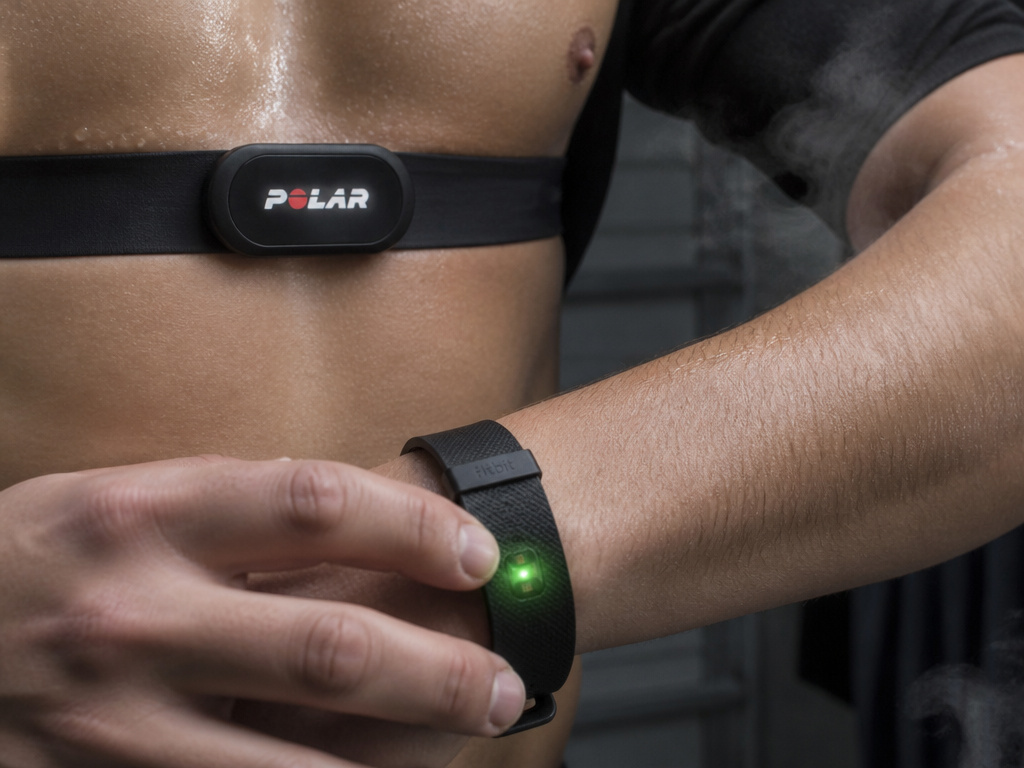
The two manuals give opposite advice about pressure, and both are right about their own hardware. Polar wants wet electrodes held against the chest. Fitbit wants a band that’s snug without squeezing.
That difference is mechanical, not marketing. One design needs a conductive path through moisture. The other needs an unobstructed view of blood flow under the skin, and compression gets in the way.
A chest strap in an unheated garage feels like a strip of ice against the sternum, and the reading lags until you’re warm enough to sweat.
| What it needs | Chest strap (Polar) | Wrist optical (Fitbit Charge HR) |
|---|---|---|
| Skin contact | Wet electrodes, kept wet | Snug band, never tight |
| Placement | Strap below the chest muscles | A couple inches up the wrist |
| Typical failure | Dry pads, out of range | Motion, cold hands |
| Best for | Steady cardio and intervals | All-day steps and sleep |
Fitbit’s manual also tells you to move the tracker up a couple of inches during exercise. That instruction is the company acknowledging the wrist method struggles with exactly the movements a chest strap handles without complaint.
The full chest strap vs wrist heart rate monitor comparison covers the trade-offs in more depth.
What Do the Zone Numbers Actually Mean?
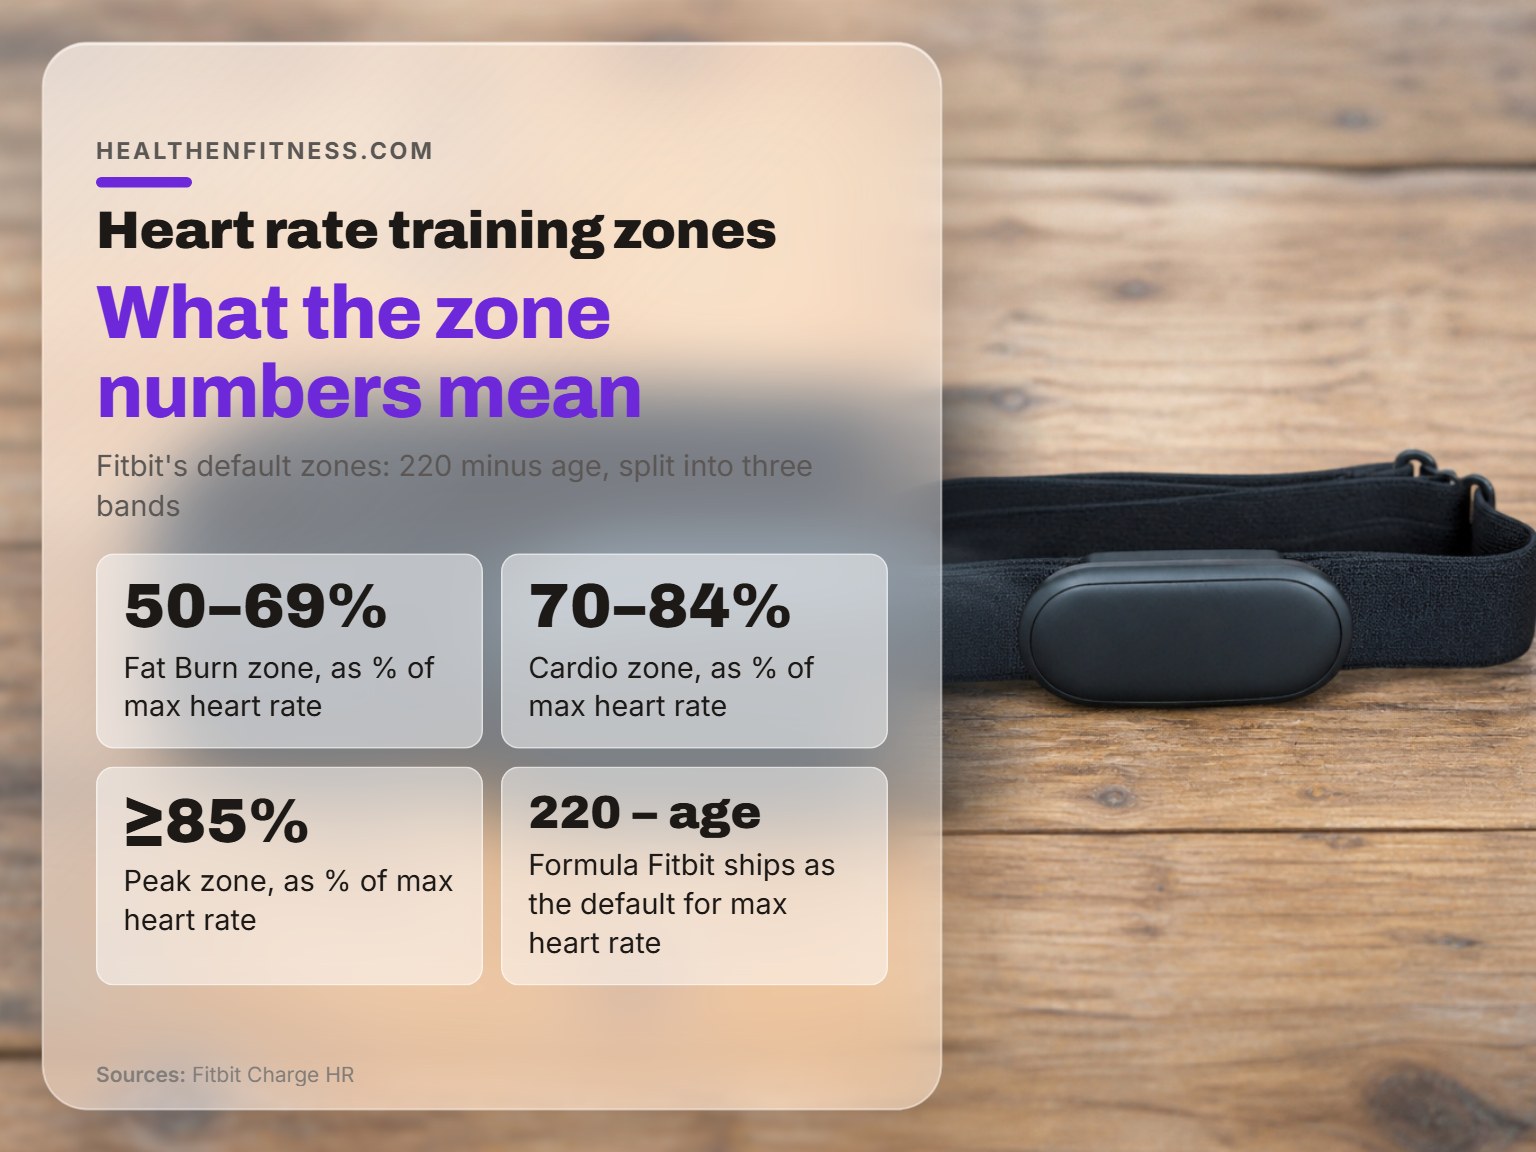
Fitbit’s Charge HR manual derives its default zones from 220 minus age, then splits them into Fat Burn at 50-69% of max heart rate, Cardio at 70-84%, and Peak at 85% and above.
Four things to do with that:
- Start with the formula if you have nothing better. It’s a placeholder, and it’s the one every manual ships with.
- Replace it with a measured number the first time you get one.
- Check each boundary against how the effort actually felt, not just what the watch said.
- Recheck after a birthday, since the formula moves whether your fitness does or not.
Here’s where the sources part company. Fitbit ships 220 minus age as the default. Achten and Jeukendrup’s heart rate monitoring applications and limitations review starts from the position that heart-rate-based prescription rests on several assumptions, and the two sources do not share a validated method for setting max heart rate.
A zone set from 220 minus age is a placeholder. Use it as a placeholder, then replace it with a number your own sessions produced.
The heart rate zones breakdown covers what each band is for, and if you want the arithmetic without the folklore, here’s how to calculate max heart rate properly.
When the Numbers and Your Body Disagree
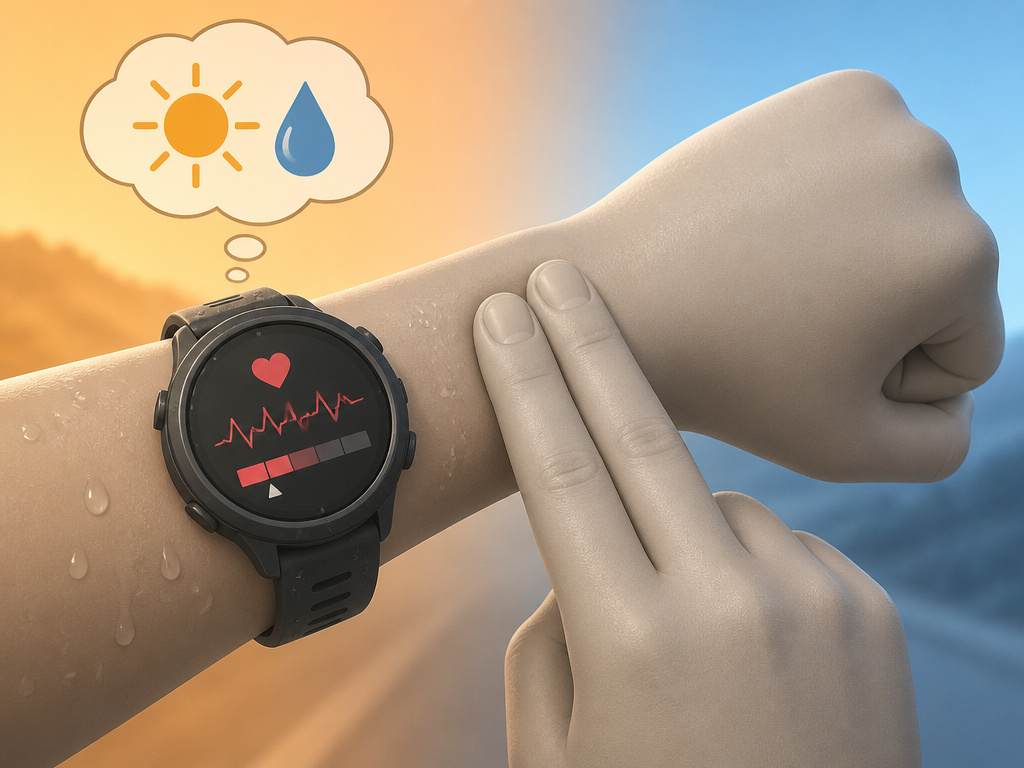
The watch says your readiness is low, and you feel fine. The session is an easy ride you’ve done a hundred times.
Two sources pull in different directions here, and both are worth knowing. Gajda and colleagues published the expert review of heart rate monitoring as a 2023 consensus statement in Sports Medicine, and it frames sports heart rate monitors as reliable diagnostic tools for training control and for detecting arrhythmias in professional and leisure-time endurance athletes. Achten and Jeukendrup’s 2003 review points out that the heart rate to oxygen uptake relationship relies on several assumptions, and that dehydration and ambient temperature can have a profound effect on it.
Neither position cancels the other. The consensus says the monitor is a reliable tool. The earlier review says the number it produces depends on conditions you don’t control. A hot, dry session moves your heart rate without moving your fitness at all.
I’ve made the opposite mistake. After a break I jumped straight back into heavy squats, and I was sore and taking stairs one at a time. Now I ease back gradually, and the monitor just documents the comeback.
Where Monitors Fail: Heat, Cold, and a Damp Gym Bag
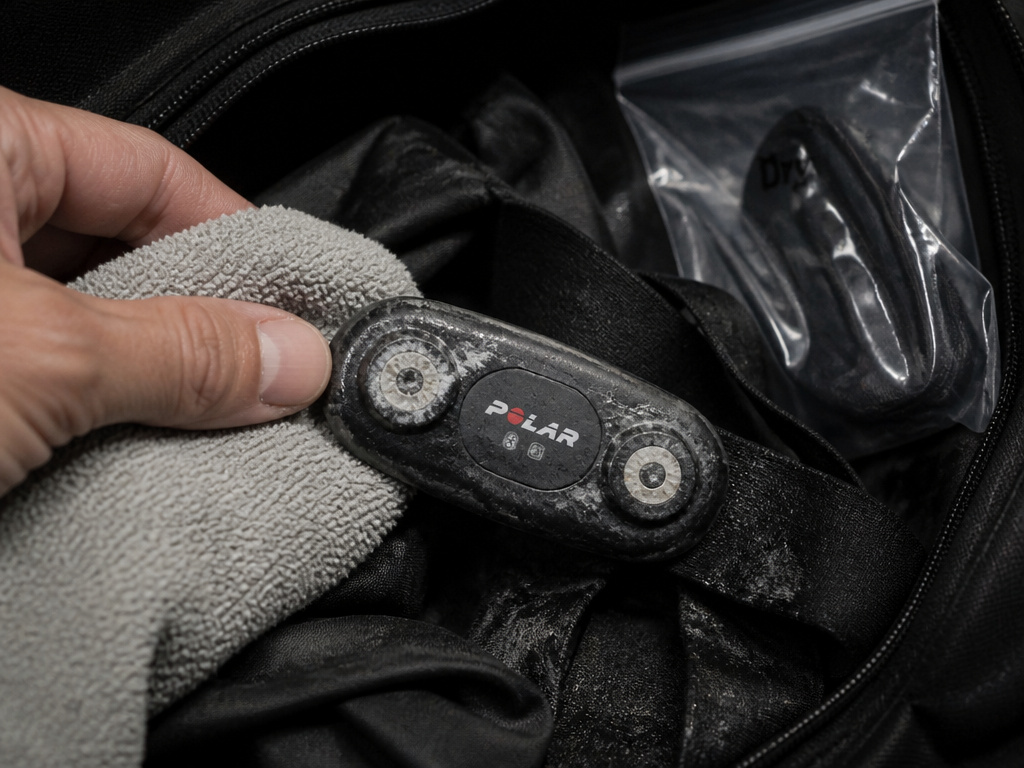
Temperature and storage are where the manuals get specific, and where most people stop reading. Polar lists an operating range of 14 F to 122 F for both the FS1/FS2c/FS3c and the B1, which is minus 10 C to plus 50 C.
That range covers a cold morning and a hot car park. It does not cover a car left in direct summer sun, and Polar says explicitly not to leave the device there.
The storage rules are stricter than the operating range. Never store the transmitter wet, because sweat keeps the electrodes wet and the transmitter active, which shortens battery life. Do not put a wet transmitter in a plastic bag or a sports bag. Do not bend or stretch it, because that damages the electrodes. Dry it with a towel only.
A transmitter that spent time in a gym bag comes out smelling like a wet towel left on a locker room floor, and the pads carry a faint white bloom.
Storage is the least glamorous part of how to use a heart rate monitor for training, and it’s where batteries die.
Easy to miss: A wet transmitter in a sealed bag stays powered for as long as the electrodes stay damp. The battery drains quietly, and the first sign is a reading that dies partway into a session.
Turning the Numbers Into Sessions You’ll Actually Do
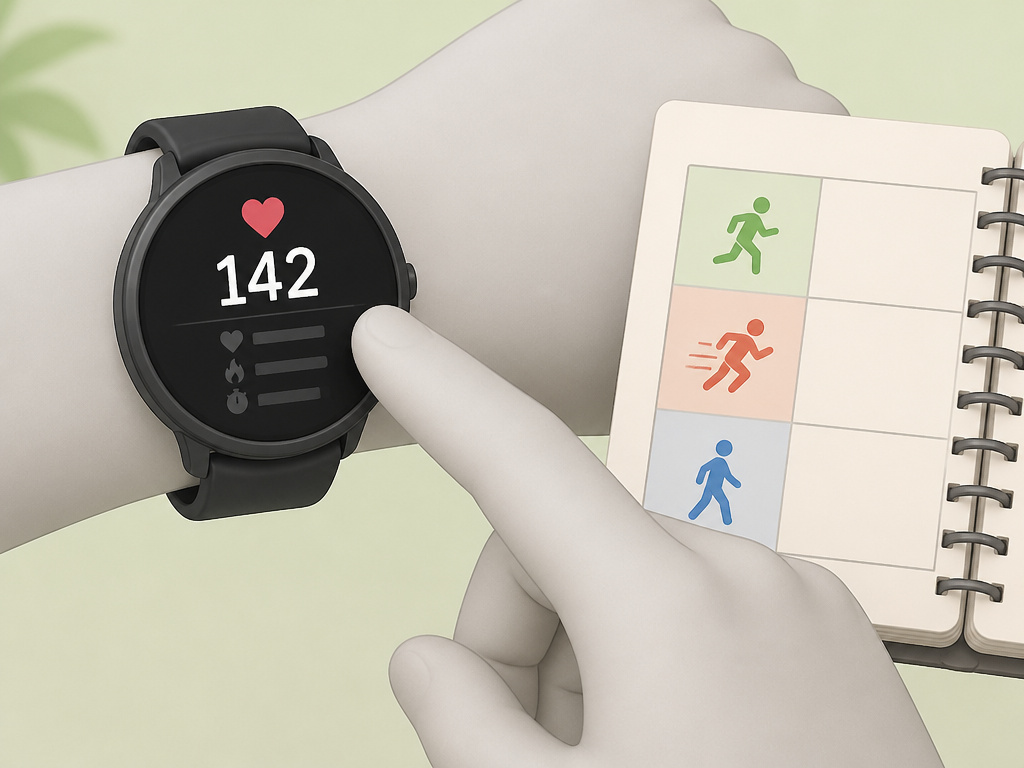
Sessions you actually do beat a plan you abandon. The monitor’s job is to keep those sessions honest, not to add a fourth one.
Pick one number per session and ignore the rest. If you want structure, the heart rate workouts piece maps sessions to each band. For the easy end, zone 2 cardio is the one to get right first, because it’s easy to run it too hard.
A Week You Can Actually Keep
- Easy sessions in the lower band, long enough to be boring.
- A harder session where you watch the number climb and hold it.
- A walk that never touches a zone at all.
That’s it. No spreadsheet.
In short: one number per session, chosen before you start, beats a screen full of metrics.
Frequently Asked Questions
How long does a chest strap take to show a heart rate?
Polar’s FS1/FS2c/FS3c manual says heart rate appears within 15 seconds of starting code search. The older Heartwatch manual says about 5 seconds. Different hardware, different wait.
Should I wet the strap if I’m already sweating?
Polar’s manuals say the electrodes must be wet during exercise and recommend moistening them before wear. Sweat does the job once you’re warm, but the first few minutes are exactly where readings go missing.
Can I wear a chest strap over a shirt?
Polar’s Heartwatch manual allows it only if the shirt is moistened well under the electrodes. A dry shirt blocks the signal.
Why does my wrist tracker read low on the rowing machine?
Fitbit’s manual says to relax the wrist and stay still about 10 seconds to regain an accurate reading during rowing, HIIT or weightlifting. The optical sensor is fighting motion.
Do I need to set my max heart rate manually?
Fitbit’s default is 220 minus age. Achten and Jeukendrup’s review notes that heart-rate-based prescription rests on several assumptions, and the sources don’t share a validated method. Enter a measured number when you have one.
Is a chest strap more accurate than a wrist monitor?
They measure different things. A chest strap picks up the heart’s electrical signal. A wrist unit reads blood flow under the sensor. Each manual describes the conditions its own design needs, and those conditions differ.
The Bottom Line
Here is the honest version: none of this matters if the strap stays in the bag. The single most useful thing you can do this week is put the monitor on for one easy session, wet the electrodes first, and check the number against how the effort actually felt.
If they match, you’ve got a tool. If they don’t, you’ve found the problem before it cost you a hard session.
One caveat on everything above. If you have a heart condition, take medication that changes heart rate, or you’re coming back from illness, the general ranges here aren’t yours. That’s a conversation with a clinician, and no user manual covers it.
That’s the whole answer to how to use a heart rate monitor for training: fit it, wet it, set one number, and go train. I’d rather you work from a number that’s slightly off and consistent than a perfect one you check six times a set.
